Typing is an important skill to learn if you want to share your ideas with others, write your own books, build your own website and or start your own business. Many of us have developed bad typing habits over the years using a typing method commonly called Hunt and Peck. This involves looking at words and then looking down at your keyboard to find the keys to press. The eyes are constantly moving from the text to the keyboard and back again.
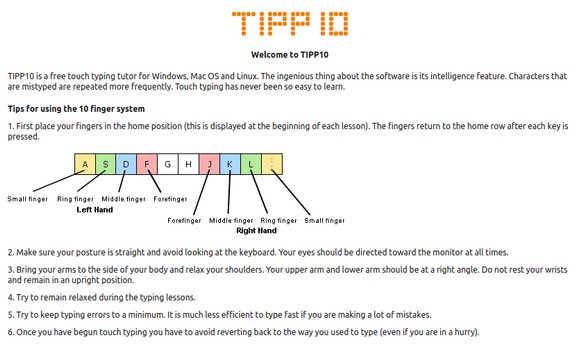
A better and faster method is called Touch Typing. With this method, you look only at the words you are typing and never at the keyboard. The key to touch typing is holding your hands in the HOME position.
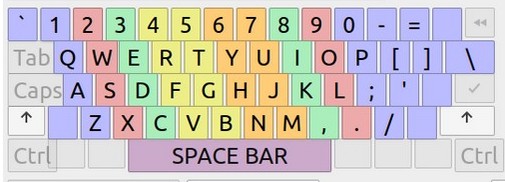
The key to finding the HOME position is to place your index fingers on the F and H keys. These two keys have small raised bars on them to help you find them. The rest of the fingers line up on the same row above consecutive keys. Thus, the little finger on your left hand is above the a key and the little finger on your right hand is above the semi-colon key. Looking at the image above, your index fingers are also responsible for the keys in the middle of the keyboard. So those two fingers get to do twice as much work as your other fingers.
Linux offers several free programs to learn touch typing. These include Tux Typing, GTypist, Klavaro and TIPP10. All of these are available in the Linux Mint Software Manager. Having reviewed all four of these programs, I think TIPP10 is currently the best program.
After downloading this program, start it by going to the Start menu. Then click Education, TIPP10.
Here is TIPP10 start screen explaining where to put your fingers for the HOME position:
Then click the Launch TIPP10 button to reach the Lessons screen:
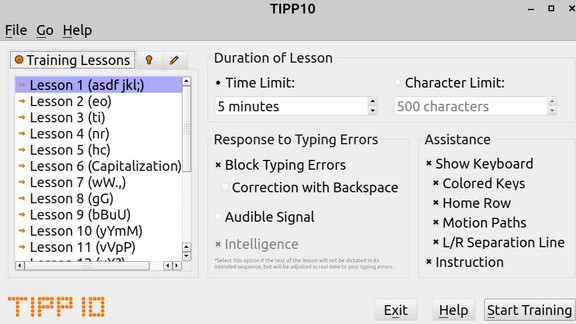
There are 20 lessons each of which take about five minutes. Just click Start training to start the first lesson.

Put your hands in the HOME position. Then press the space bar to bring up the first set of letters.
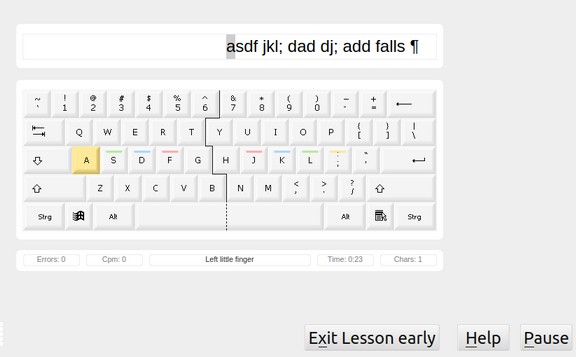
Press the a key, then the s key, then the d key, then the f key, then the space bar. If you make a mistake, the letter will turn red.
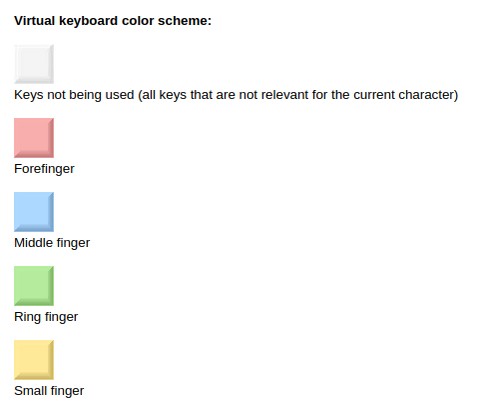
Press the Help button to learn more about how to complete each lesson. The keyboard displays the colors of the keys to indicate which finger should be used to press the desired key.
There are several ways to keep track of your practice including lessons covered, words per minute and reducing the number of errors. There is also a game called ABC that helps you remember where each letter is on the keyboard. There is also a Help Manual that explains all of the features.
After practicing these 20 lessons, you are ready to start typing whatever you want.
Happy Typing!
Regards,
David Spring M. Ed.